Welcome to Avaza! Successful project management relies on effective task management, strong collaboration with team and customers and efficient analytical tools that help you stay on track. Here is how you can do this in Avaza.
Avaza Projects lets you manage both internal and customer projects in one place. Avaza is great for businesses of all types – your projects can be big or small, have one or more team members working on them, and use all or just some of the features Avaza offers.
Projects are broken down into sections and tasks allowing team members to collaborate and organize their work under one roof. Tasks each have their own email-enabled discussion history, so you can centrally track your team & customer discussions on task.
You can plan your project out with our optional resource scheduling module. This will allow you to assign work based on user availability as well as forecast cost and billable amounts.
To help manage costs you can set project budgets, record expenses and track timesheets against the project and tasks. If you’re charging a customer for your work, you have the flexibility to charge fixed amounts as work is completed and/or set time-based billable rates. Billable rates can be set for each team member or category of work.
Similarly, expense categories can be set up as billable or non-billable and optionally with fixed and percentage based default markups to use when invoicing.
Whenever you create an Invoice for a customer, you can add billable Timesheets, Fixed Amounts, and Expenses to the invoice. You can even give your clients the convenience & flexibility to pay you online via Paypal, Payoneer or a credit card (via Stripe).
Avaza has numerous powerful reports available to help you understand and improve your business. For example, reports to monitor project progress, track budgets, resource utilization & project profitability.
Let’s dive into Projects, and how you can quickly get started with Avaza.
Viewing Projects
Most teams work on more than one project at the same time. To view all projects, including archived ones, click on “View All Projects” in the Projects module.
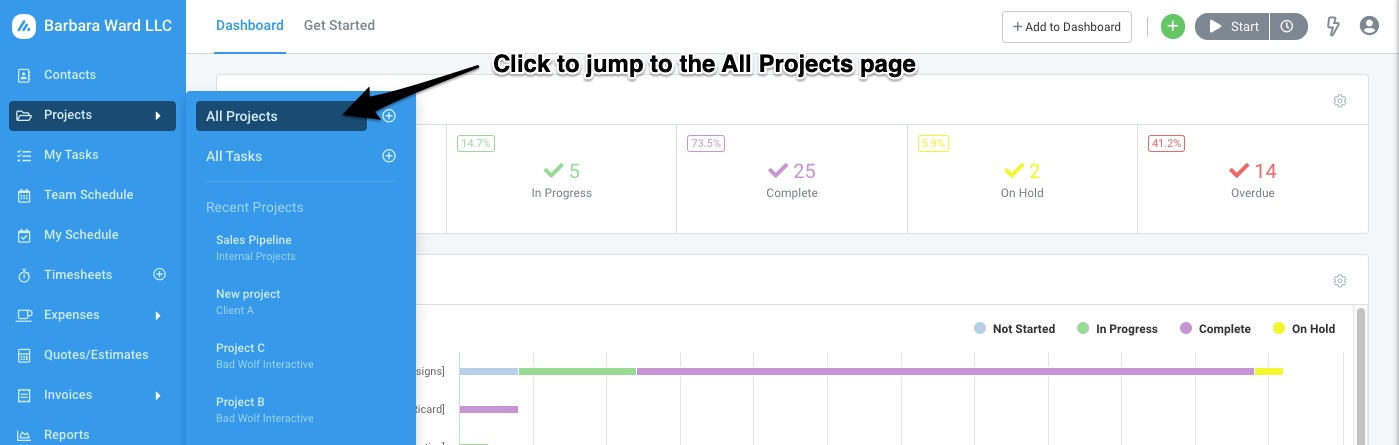 Figure: View All Projects Using Side Navigation
This page shows all current projects grouped by Customer with project status (Not Started, In Progress and Complete) and assigned Project Tags/Categories. All visible fields (customer name, project titles, tags, and categories) can be used in the Search field to display relevant projects.
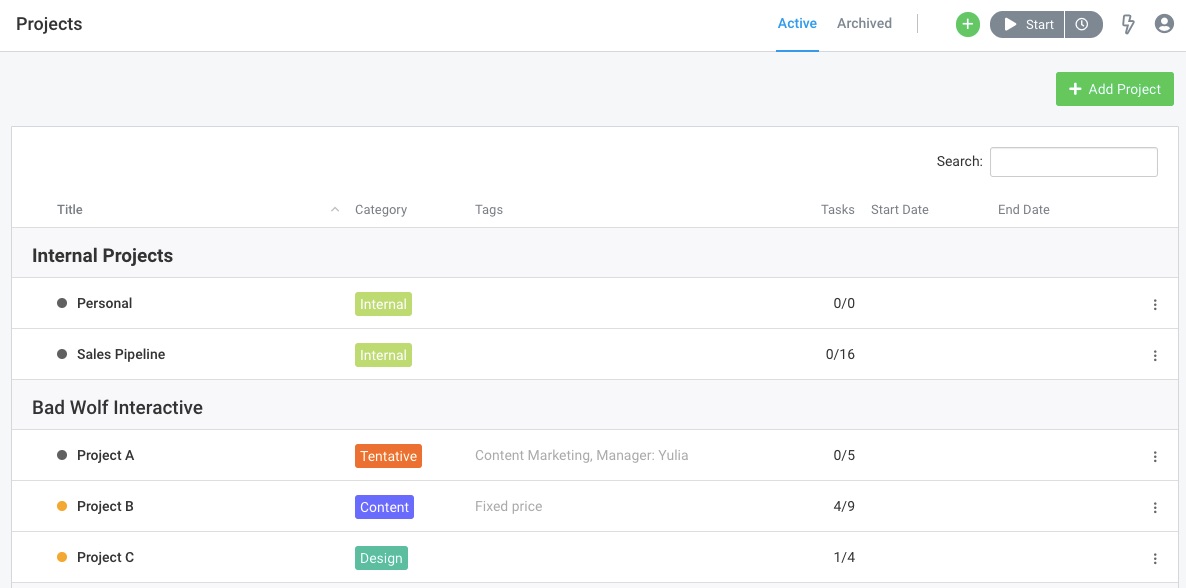 Figure: View All Projects Grouped by Customer
You can use this page to get a quick overview of completed vs total tasks in each project, as well as access the option to archive a project or jump to the project settings page using the 3-dot control.
We recommend archiving completed projects which will block any access and prevent users from making further changes, but the data can still be accessed via reports. Archived projects don’t count against project quota limits on each subscription and can be easily restored whenever required via the Archived tab.
You can also use the Archived Projects page to access the ‘Delete Project‘ option (3-dot control).
Creating Your First Project
Ready to get started? Let’s create your first project.
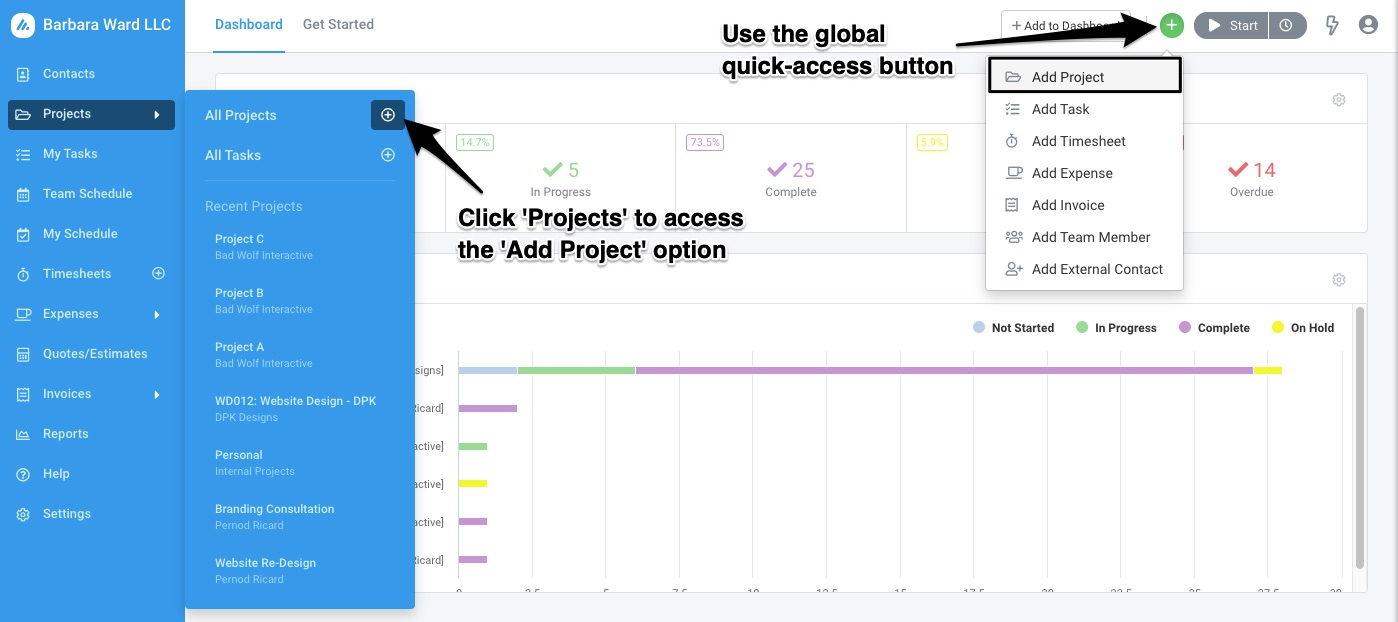 Figure: Click +Add Project from Projects Drop-Down or the Quick-Access Button
When creating a project, you can link it to a new or existing Customer. If you’re creating a project for internal purposes, you can simply leave the Customer field empty.
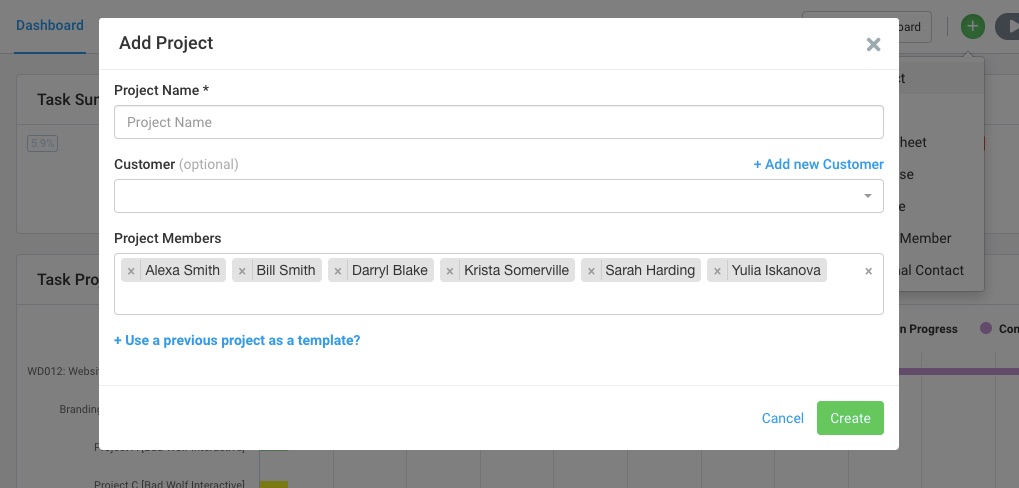 Figure: Create a New Project popup
The ‘Project Members’ field automatically displays internal users that have the “Add to all new projects” option enabled via the Contacts page. You can straightaway add the relevant project members while creating the new project or take care of it later via the Project Settings page.
Avaza also allows you to use a previous project as a template. This feature copies all sections and tasks from the existing project, resetting task status to Not Started, and also allowing you to choose a variety of additional settings & data to be copied across. Many teams find this useful when they have similar projects for different, or even the same, customer.
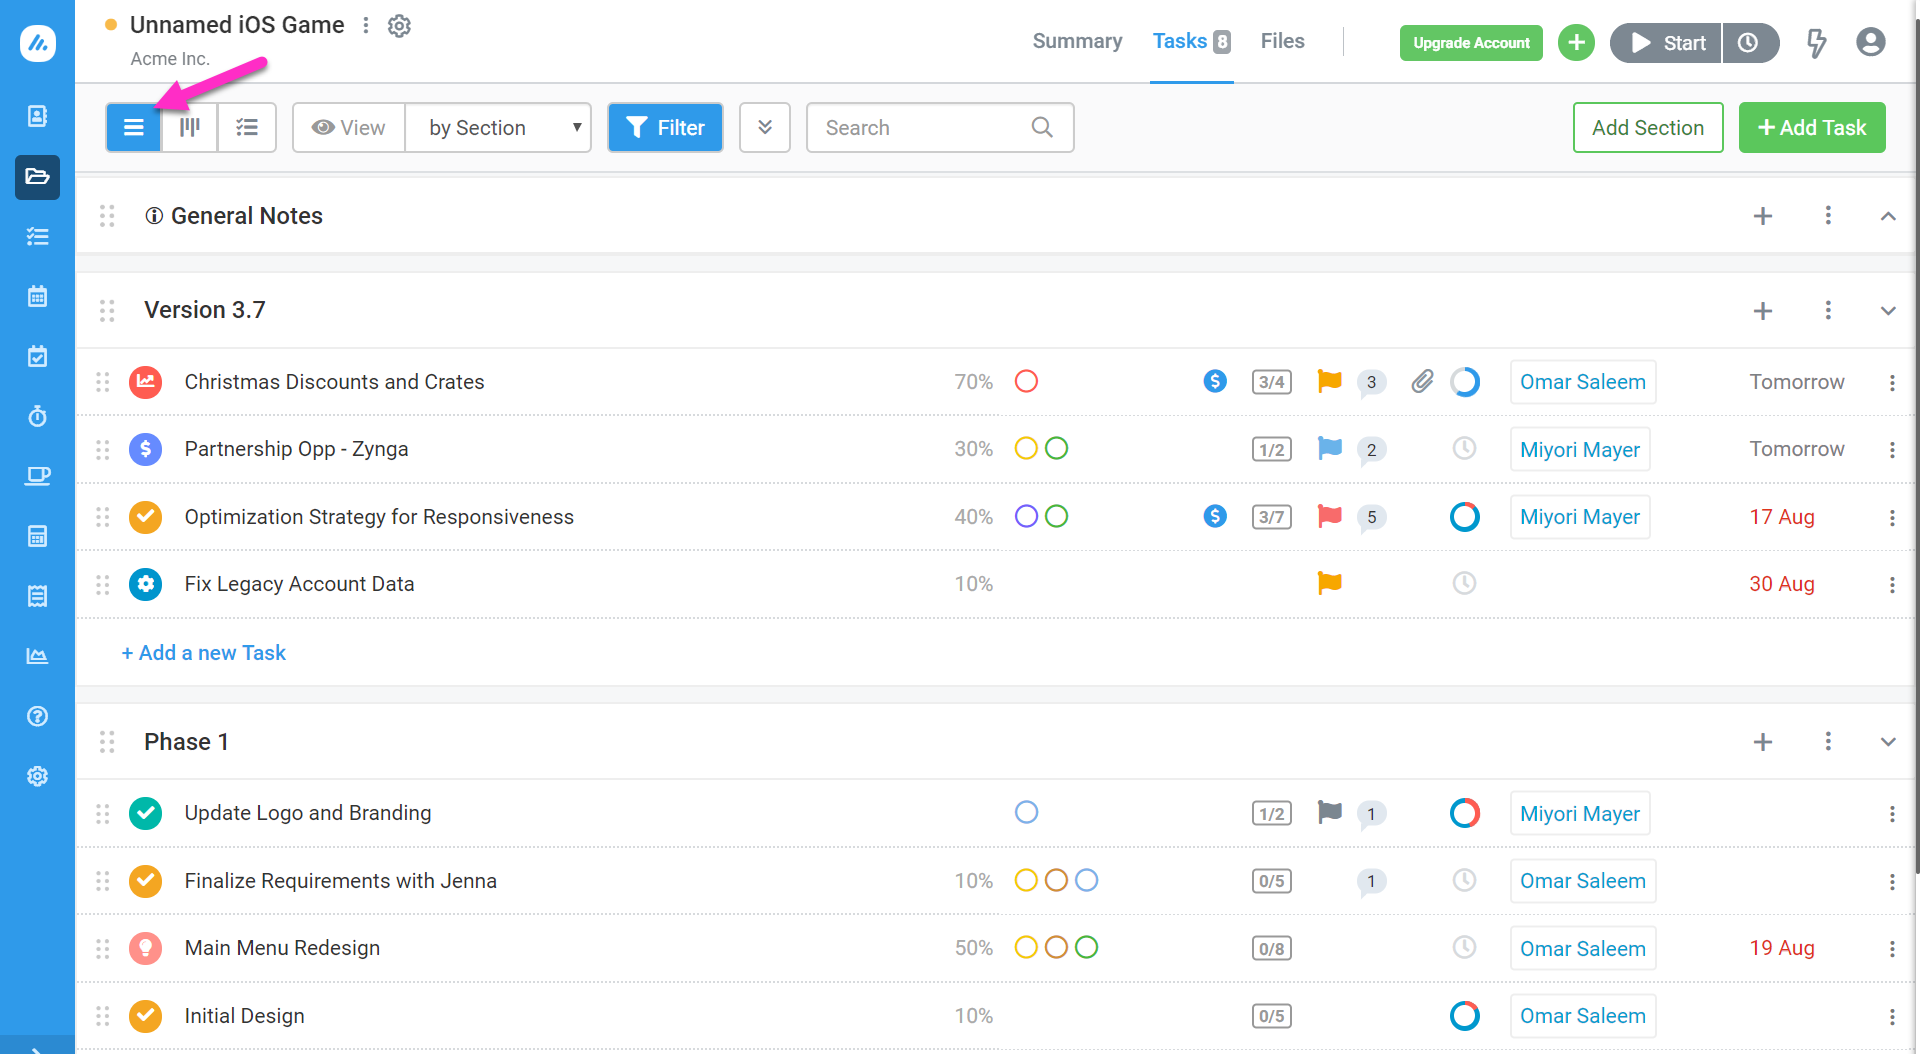 Figure: Avaza Task List-View
Project Layout
Avaza Projects have powerful & flexible visualization options for your tasks. There are multiple Views, as well as Grouping and Filtering options you can toggle to suit the work at hand. (for example, if you grouping by Assigned To, you can quickly re-assign tasks by dragging them between groups).
The three main layout views are List-view, where all the tasks are displayed in a list, the side-by-side view which shows all tasks as cards on a Kanban-style board or a Gantt Chart that support task dependencies and auto-scheduling of task start and end times.
 Figure: Toggle Between List-View and Kanban Style Project Layout
Avaza Project Concepts
Avaza projects are flexible and powerful.
Here are the major concepts you’ll find useful for working with projects in Avaza:
1. Task Types & Status Workflows
Task Types allow your team to differentiate between different types of tasks your team works with. For example, you might create separate Task Types for Issues, Bugs, Change Requests, Campaigns, Leads, Ideas and so forth.
Each of these Task Types can have their own workflow of Custom Task Statuses and be optionally used to enforce a specific sequence for statuses that users can select.
For instance, if you have two types of tasks (Features & Bugs) that follow a different status workflow, simply create two task types with the list of specific statuses for each type and you are good to go.
Initially your account starts with one Task Type called “Task” created with three statuses “Not Started”, “In Progress”, “Complete” that reflect a basic status lifecycle. However, your account Administrator can create new Task Types and configure custom task statuses to suit your business by navigating to Settings > Project Management Settings page.
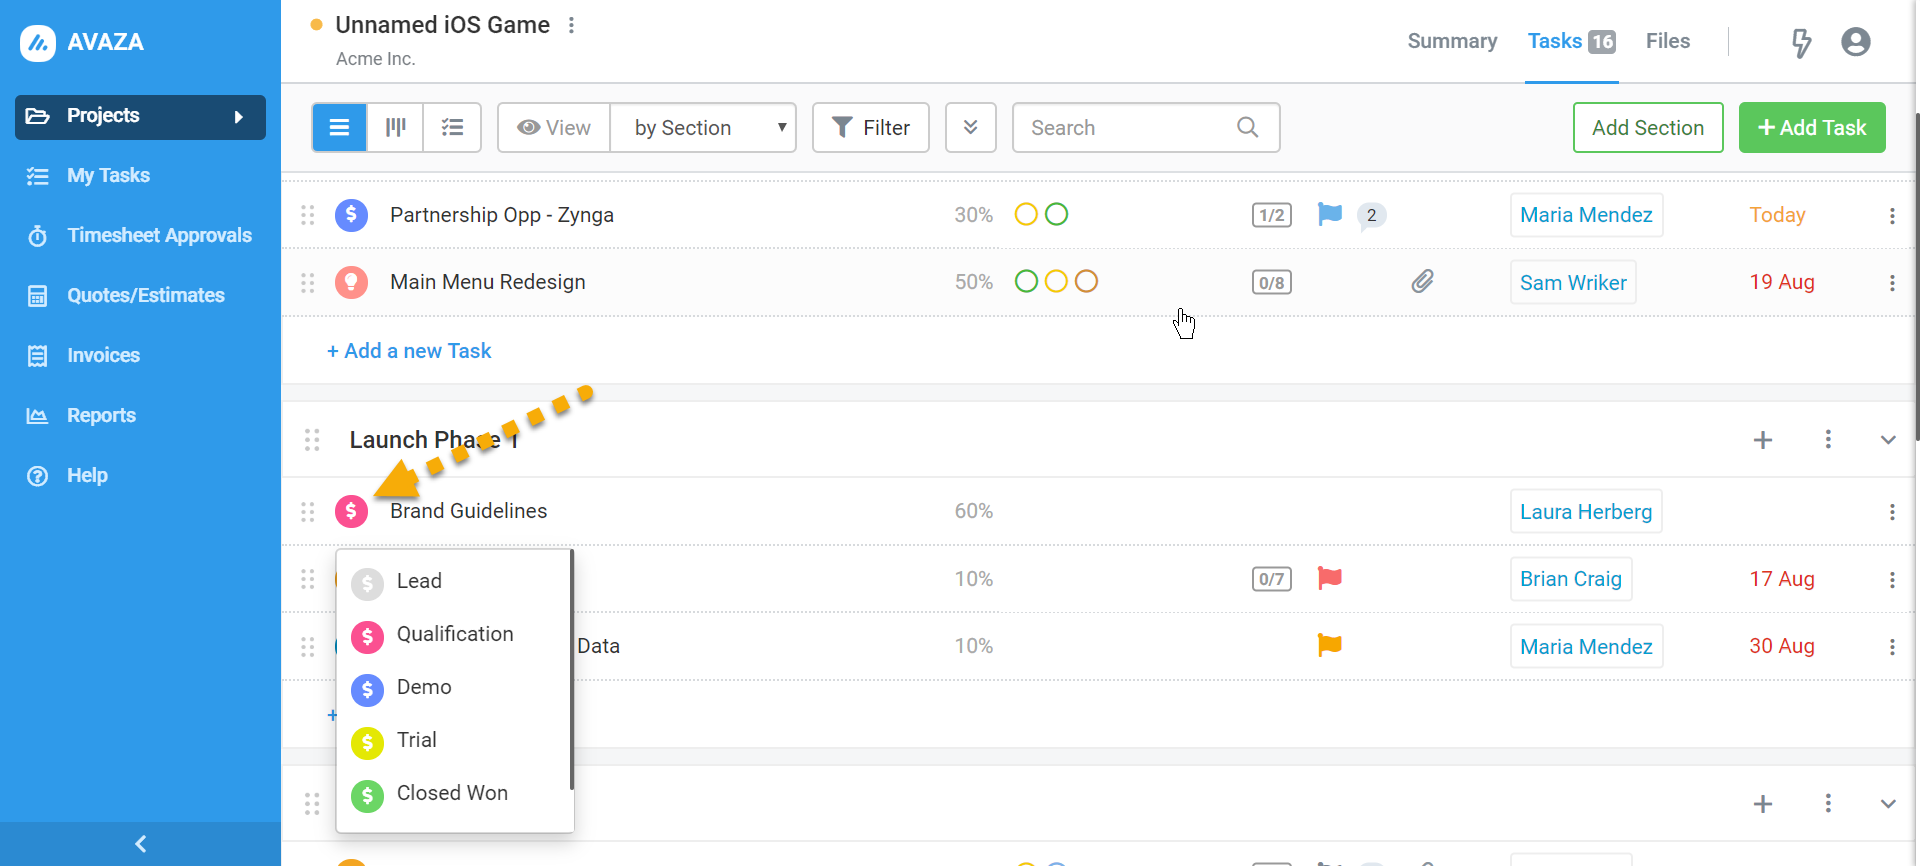 Figure: Example Task Type “Opportunity” with its custom set of Statuses
Learn more about Task Types in this guide and about custom task statuses in this guide.
2. Sections
Use Sections to group related Tasks together. Sections are really useful for representing stages of a project, milestones, different mini-projects within the project, etc.
 Figure: Creating Sections in Avaza Projects
Sections can be renamed by clicking on the section header and re-ordered using the drag/drop function.
Sections can also be collapsed, either one by one or all at once using the collapse button. This button is found next to the 3-dot control on each Section Header (to collapse one section at a time) and on the Main Project Navigation next to the Filter button (to collapse and expand all sections).
 Figure: Collapse or Expand Sections Using Collapse/Expand Button
3. Tasks in Avaza Projects
Tasks are the heartbeat of Avaza Projects. Work is created, estimated, assigned, collaborated on and delivered via tasks.
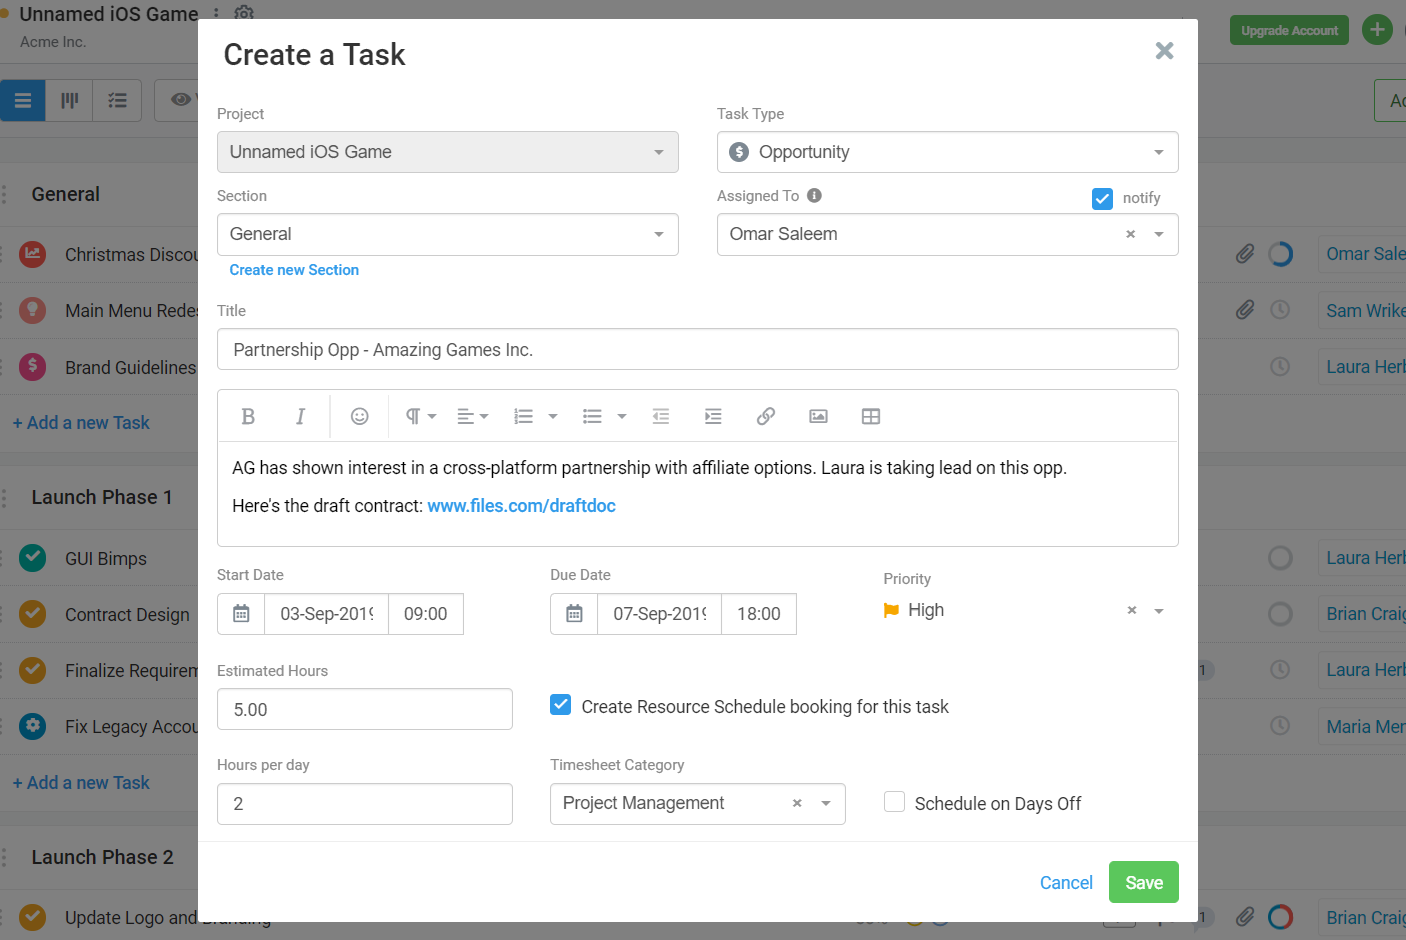 Figure: Creating a New Task
You can create tasks for yourself or your team members. Tasks can have due dates, attachments, tags, and can also be discussed online & via email. They can be broken down into subtasks, so that work becomes more manageable. Schedule assignments can be linked to tasks as well.
Our Task Management Guide runs you through task creation, management, and collaboration in more detail.
4. Files in Avaza Projects
Files can also be uploaded and attached to Projects, Tasks and Task Discussions. There is also a centralized Files view on each project where all files uploaded across the project can be browsed, filtered and searched across grid and list views.
Our File Management Guide covers everything you need to know about managing your files in Avaza.
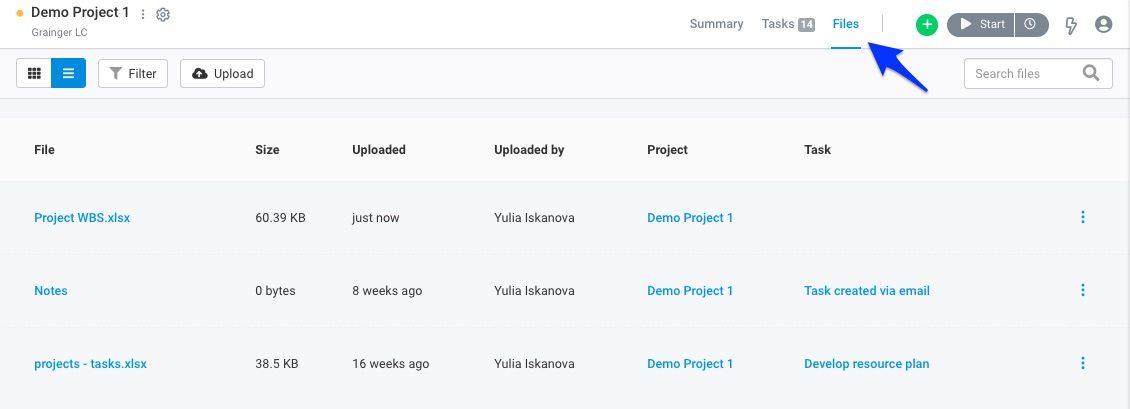 Figure: Files Tab
5. Project Summary Tab
Get a quick overview of task status for a particular project, as well as the rate at which tasks are being completed versus the total number of tasks on the Summary tab. These stats and graphs (shown below) can also help you quickly ascertain projects that might be in danger of not getting completed on time.
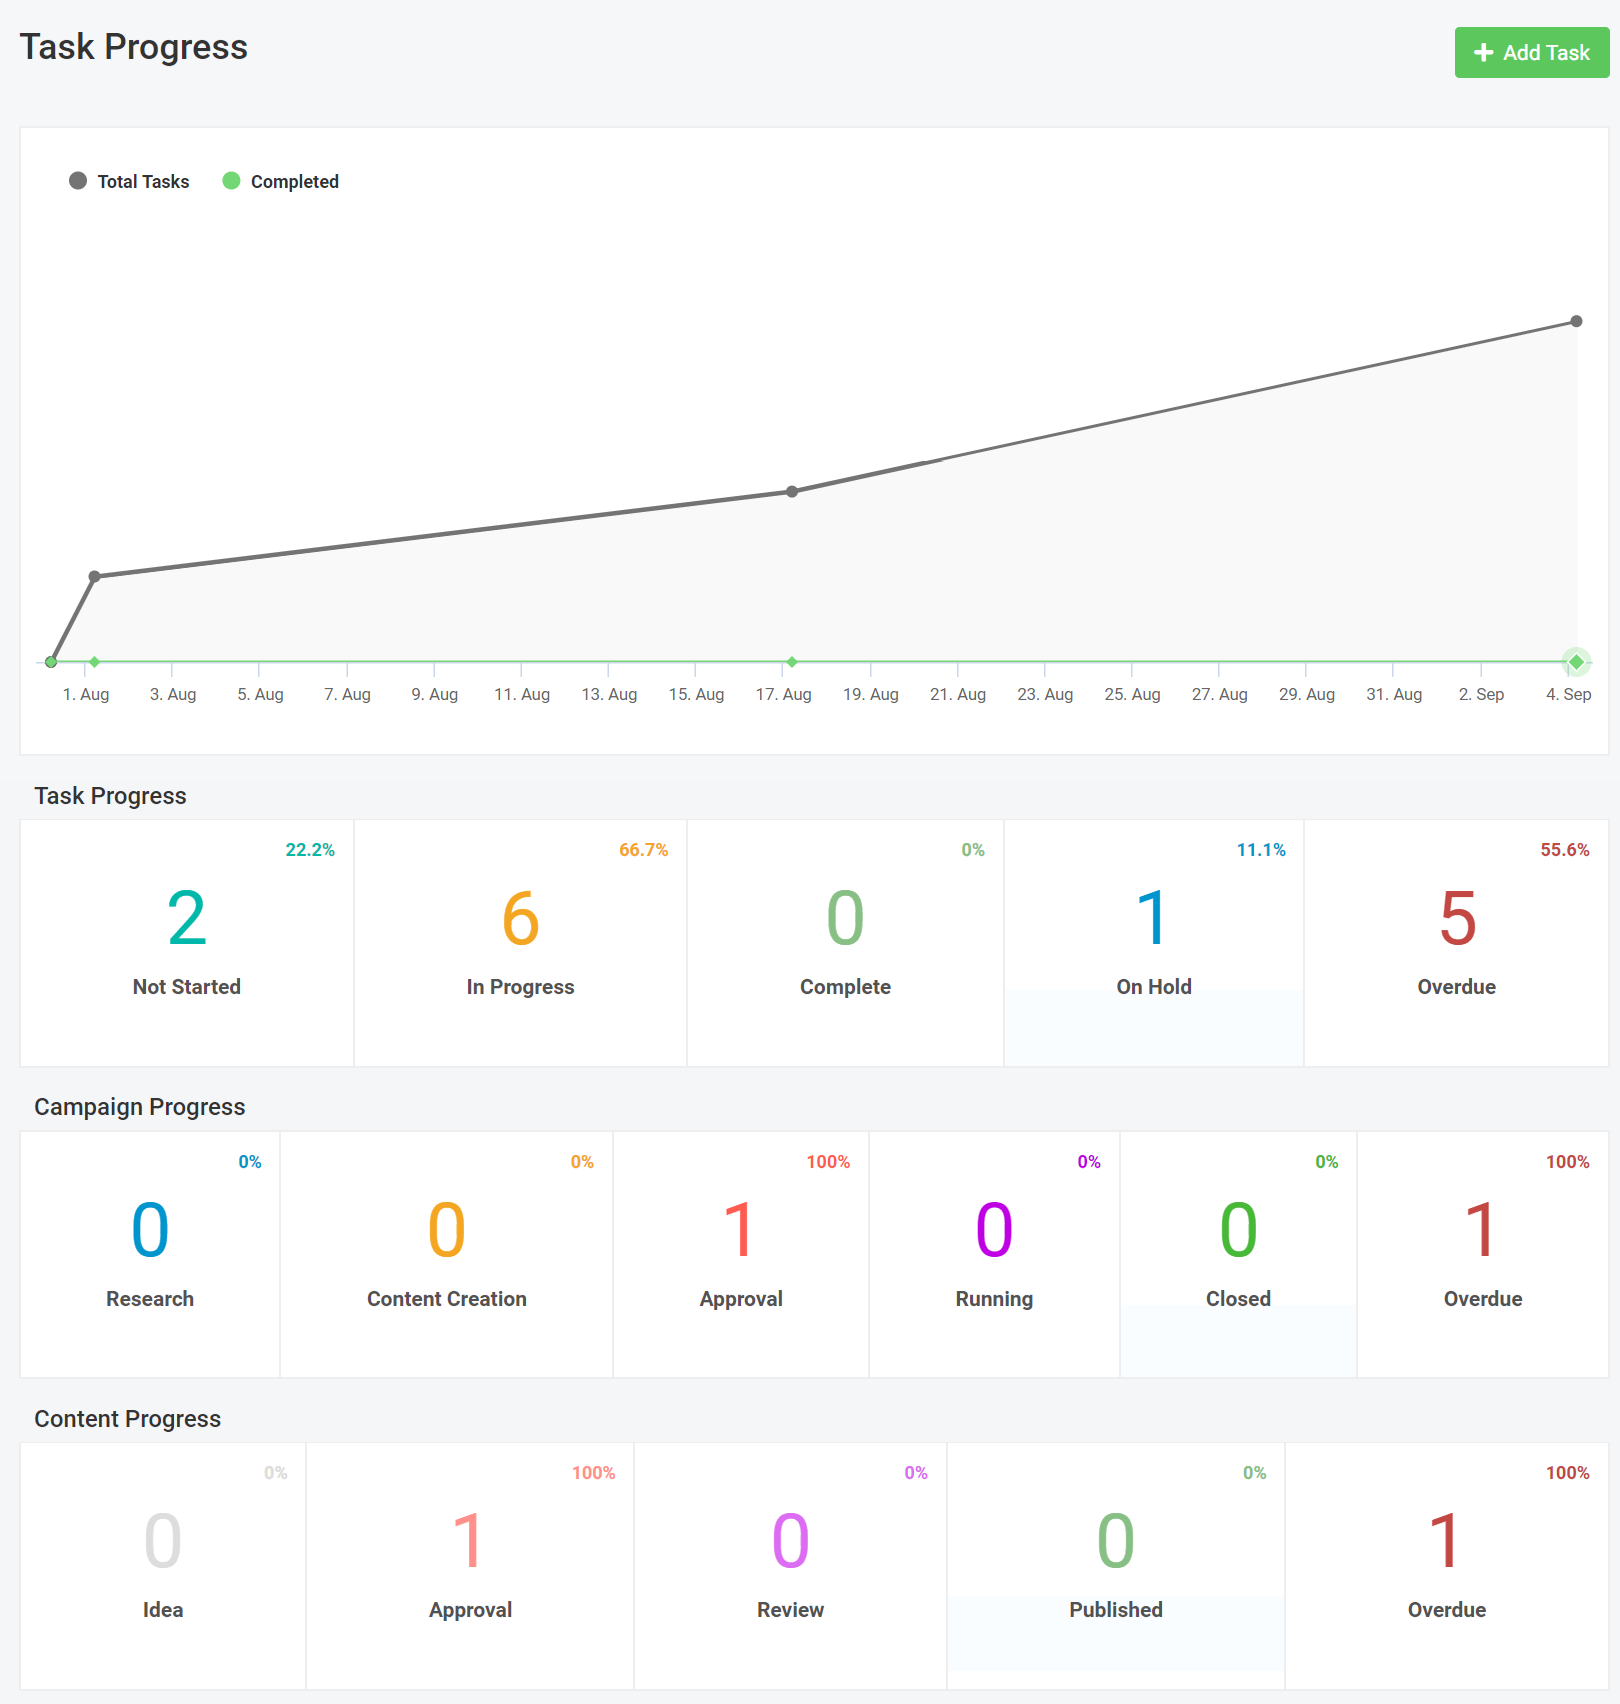
Figure: Project Summary Page Shows Project Progress and Task Completion Rate
The Task Progress graph shows stats for tasks not yet started, in-progress, completed and overdue for each Task Type. These statistics are clickable and are shortcuts to filtering your task list to display tasks in each status. You can drag-select date ranges on the chart to view a zoomed-in view.
6. Project Members
Your team and customer contacts can be added to a project to collaborate on tasks, track time and expenses.
Here are the steps to add a user to a project:
a) Via the Contacts screen, invite them to Avaza and ensure they are assigned the “Project Collaborator” role at the least.
b) Check “Add to all New Projects” and/or “Add to Existing Projects” to add them to appropriate projects automatically. You can also add them to specific projects.
You can also invite existing team members to a project via the Project Settings page, or create a new user at the time.
Note: To ensure the project member has the required permissions as well as cost/billable rates at the project level, make sure to assign them the relevant user roles and cost/billable rates before you add them to the project. Changes made to the user roles and rates on the Contacts page will not affect existing projects they are already members of.
The Avaza Contacts Guide takes you through global user roles, permissions and more.
7. Project Settings
Every project has a set of settings where you enter project notes, manage budgets, team members, billable rates, timesheet approvals, etc. The settings cog is located right next to the Project Title. Only users with Admin, Finance Manager, Portfolio Manager and conditionally Project Manager role at account-level can access the project-specific settings.
 Figure: Navigate to the Project Settings to Configure the Project Details
Our Project Settings Guide runs you through all the project settings you can tinker with, as well as billable rates and project budget settings.
8. Billing Methods
Our Project Settings Guide provides an overview of the various approaches for billing customers in Avaza.
9. Project Management Settings
The Project Management Settings page, accessed via Account Settings, allows you to define the Default Billing Method and Default Budget Method which is useful if all (or most) of your projects follow the same template.
You can also use this page to define your your Project Categories / Tags, Task Priorities / Types / Statuses / Tags.
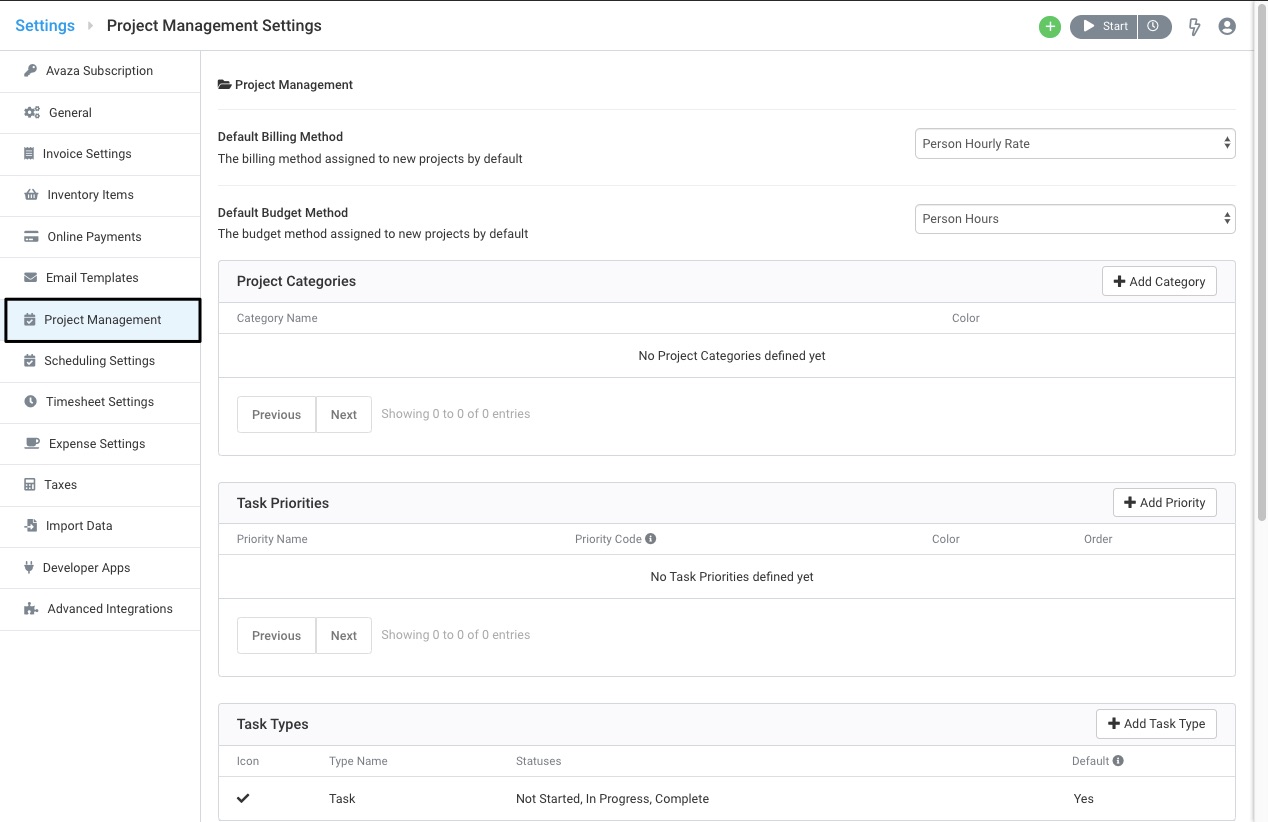 Figure: Define your Workflow via Project Management Settings
10. Project Reports
Our Project Reporting Guide walks you through some of the key reports that will help you manage your projects & people and provide insight to support your decision making.
Hope this guide is helpful in understanding how to create and manage projects in Avaza. If you need further help, feel free to contact our support team via chat or by emailing support@avaza.com.