Avaza has introduced Multi-factor authentication (MFA) to add extra security to help keep your data secure.
What is MFA?
Multi-factor authentication (MFA) is an additional way of checking that it’s really you when you log in. It combines something you know (your username and password) with something you have (an authentication app on your smartphone or tablet). This second layer of security is designed to prevent anyone but you from accessing your account even if they know your password.
Popular Authentication Apps
One of the methods Avaza supports for setting up Multi-factor authentication is using an Authenticator app. The authentication app generates a 6-digit code every 30 seconds for each software application added to it. This 6-digit code needs to be entered during login to complete the MFA process.
Here is a list of popular authentication apps you can download on your device.
- Google Authenticator
- Microsoft Authenticator
- Authy by Twilio
Avaza Account Settings
Two MFA-related settings are now available on the Settings > General Settings page.
- Require Multi-Factor Authentication for Team Members
- Require Multi-Factor Authentication for External Contacts
Account Admins can enable these settings to mandate MFA for team members and or external contacts. Once the mandatory flag is switched on, any user who is not logged in with MFA will be redirected to the MFA setup when they try to access the account.
Please note that the Admin can only enable these settings if they are logged in using MFA.
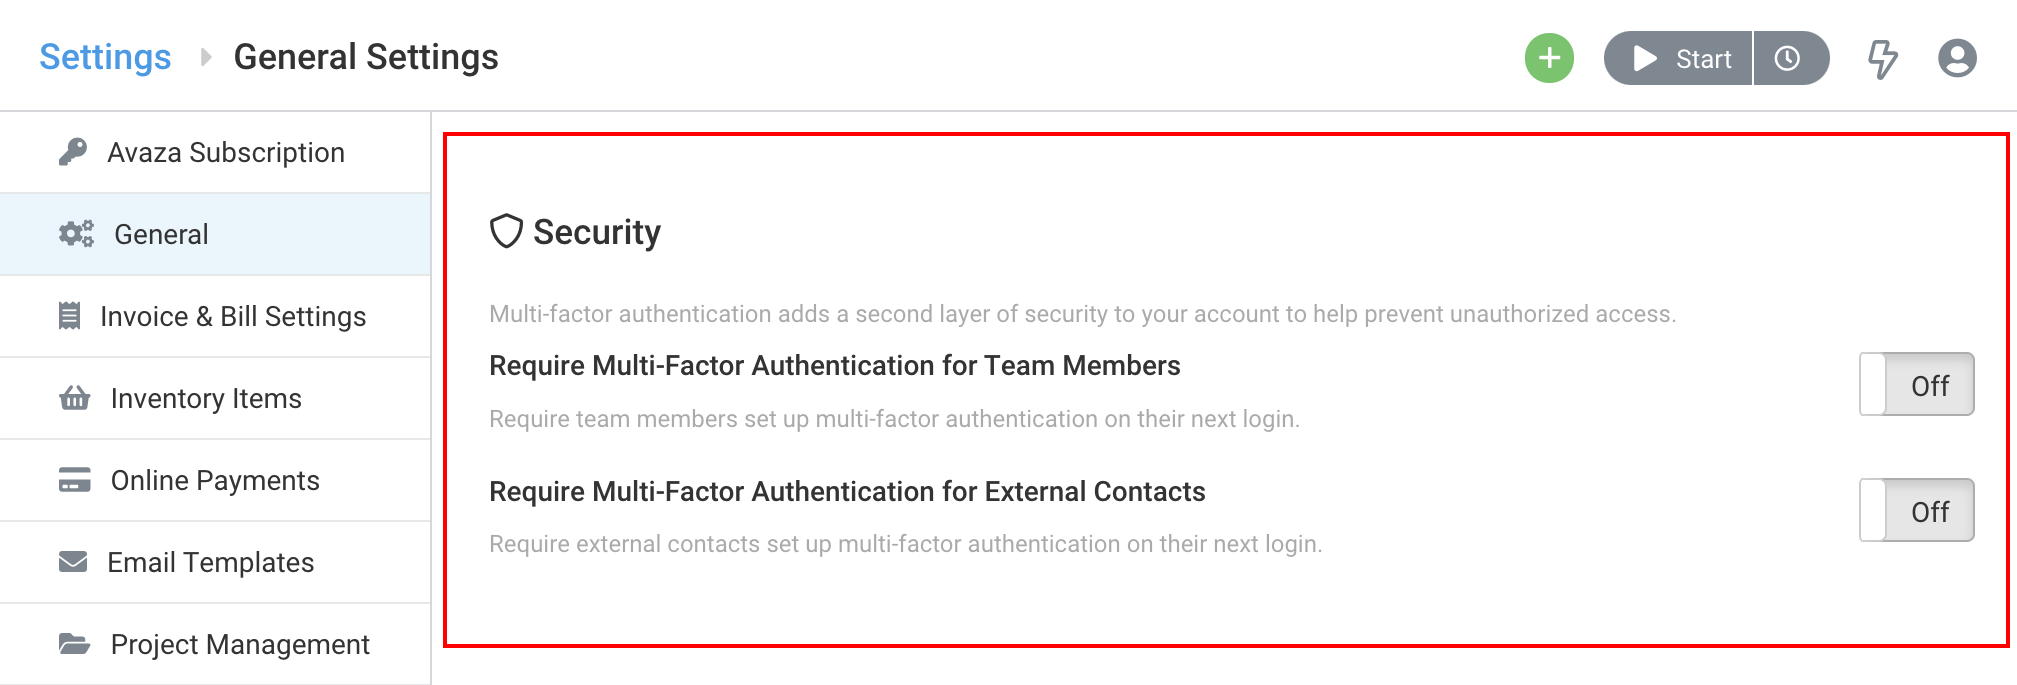
Figure: MFA Account Level Settings
How to Setup?
If your Account Admin has mandated MFA to access the account then you will be automatically redirected to the MFA setup however you can also setup MFA at any point from your User Profile page.
Initial MFA Setup from the User Profile Page
- Navigate to your User Profile page and scroll to the Multi-Factor Authentication Methods section. Access the User Profile option by clicking your Avatar top right of the page as per the screenshot below.
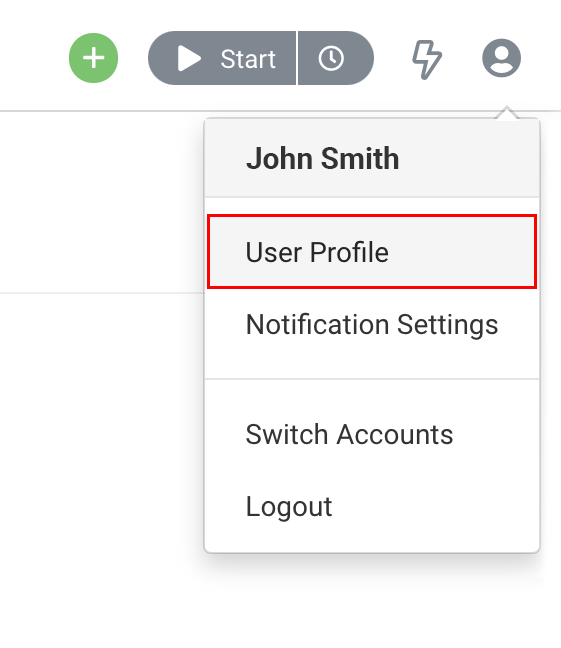
Figure: Avaza User Profile Menu Link
- Click Add Authentication Method button to initiate the MFA setup.
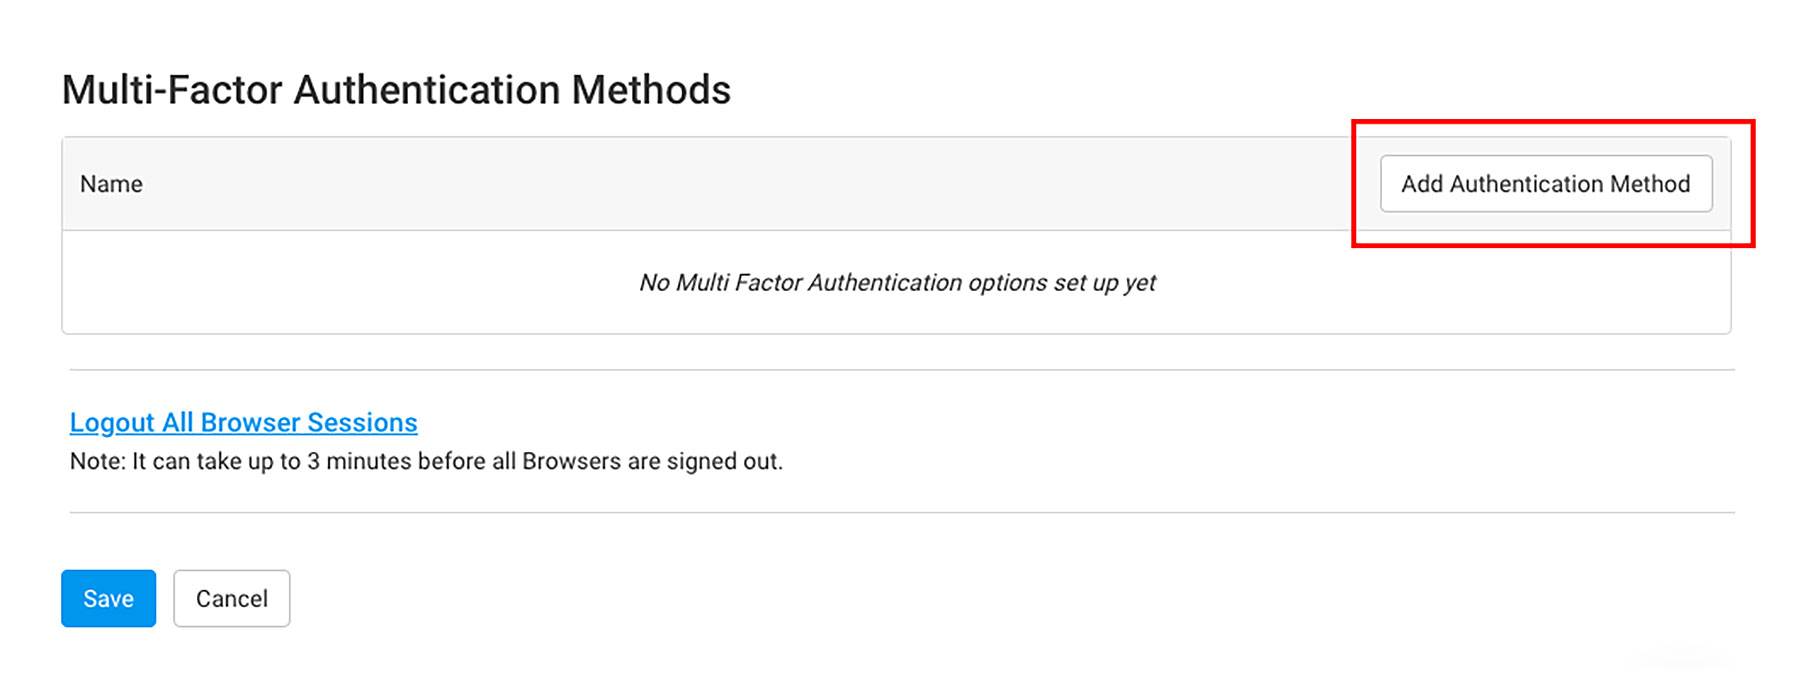
Figure: Multi-Factor Authentication section on User Profile Page
MFA Setup
Whether you initiate MFA setup from the User Profile page or are redirected to it because an Account Admin has enforced it account-wide, the workflow is the same as described here:
Step 1: You will be directed to an introductory page that outlines the benefits of MFA. After reading through the details click the Setup Multi-Factor Authentication button
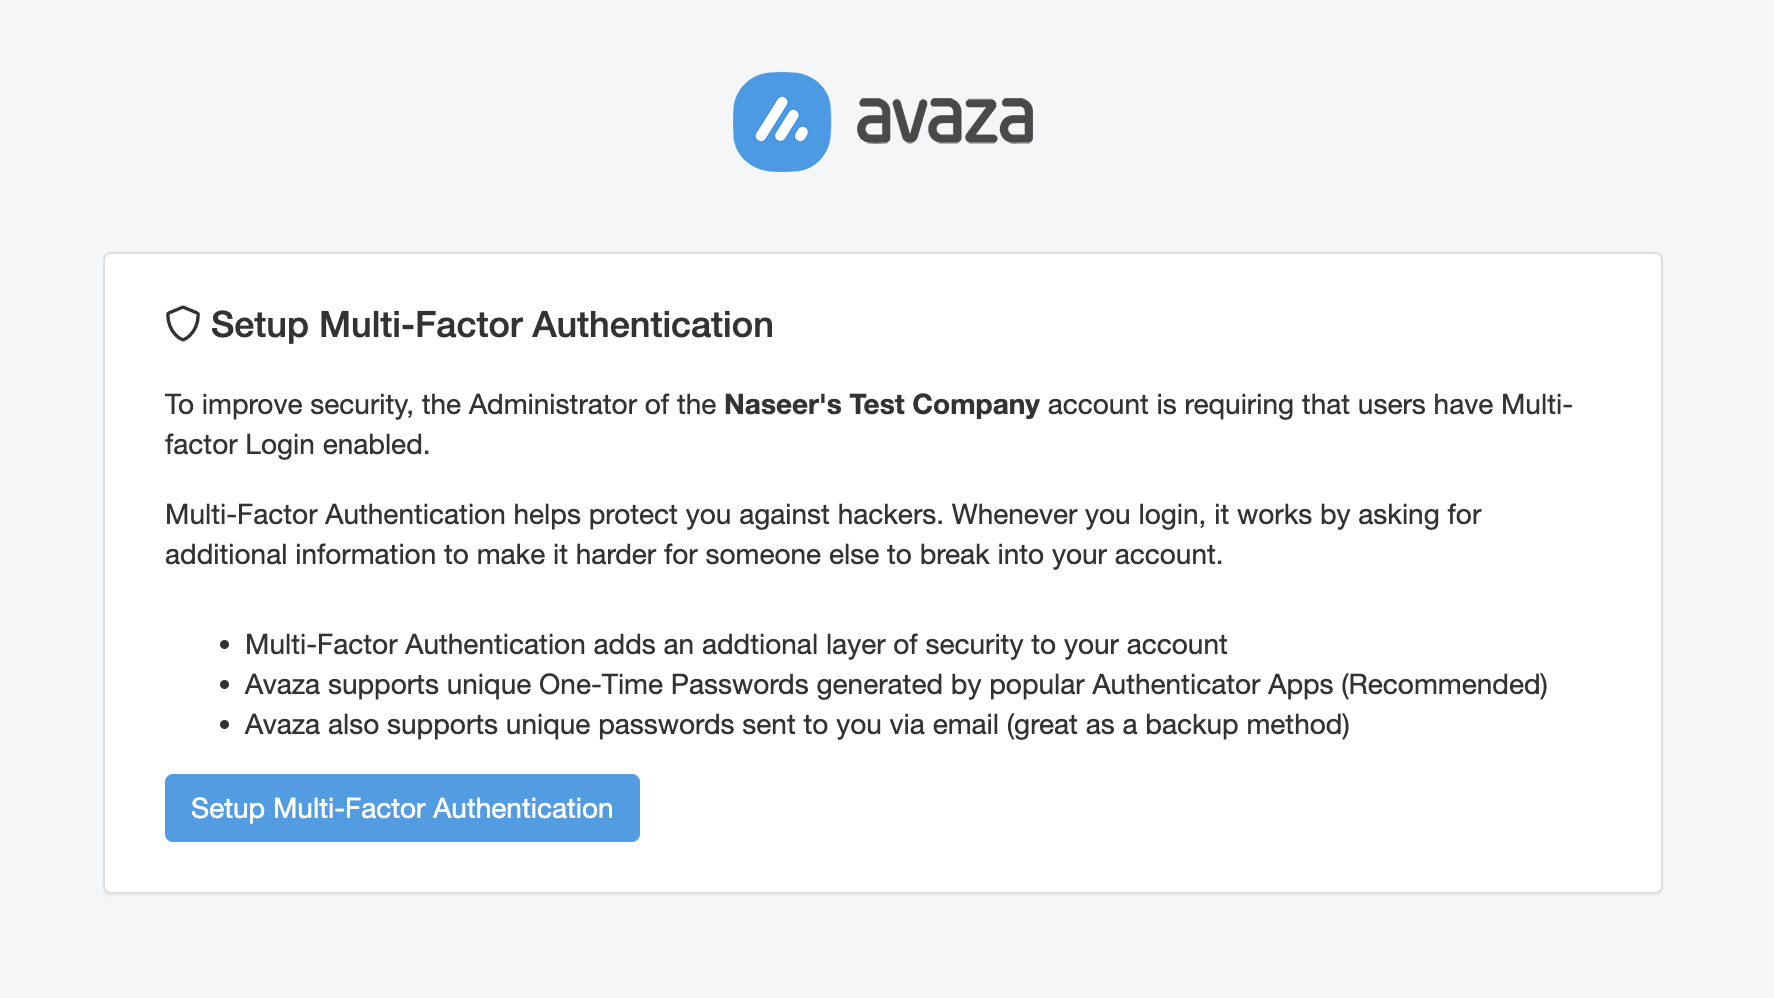
Figure: Step 1 – MFA Setup Introduction
Step 2A: Choose from the list of available authentication methods. We currently support the following two methods:
- Authentication Apps
- Email Address
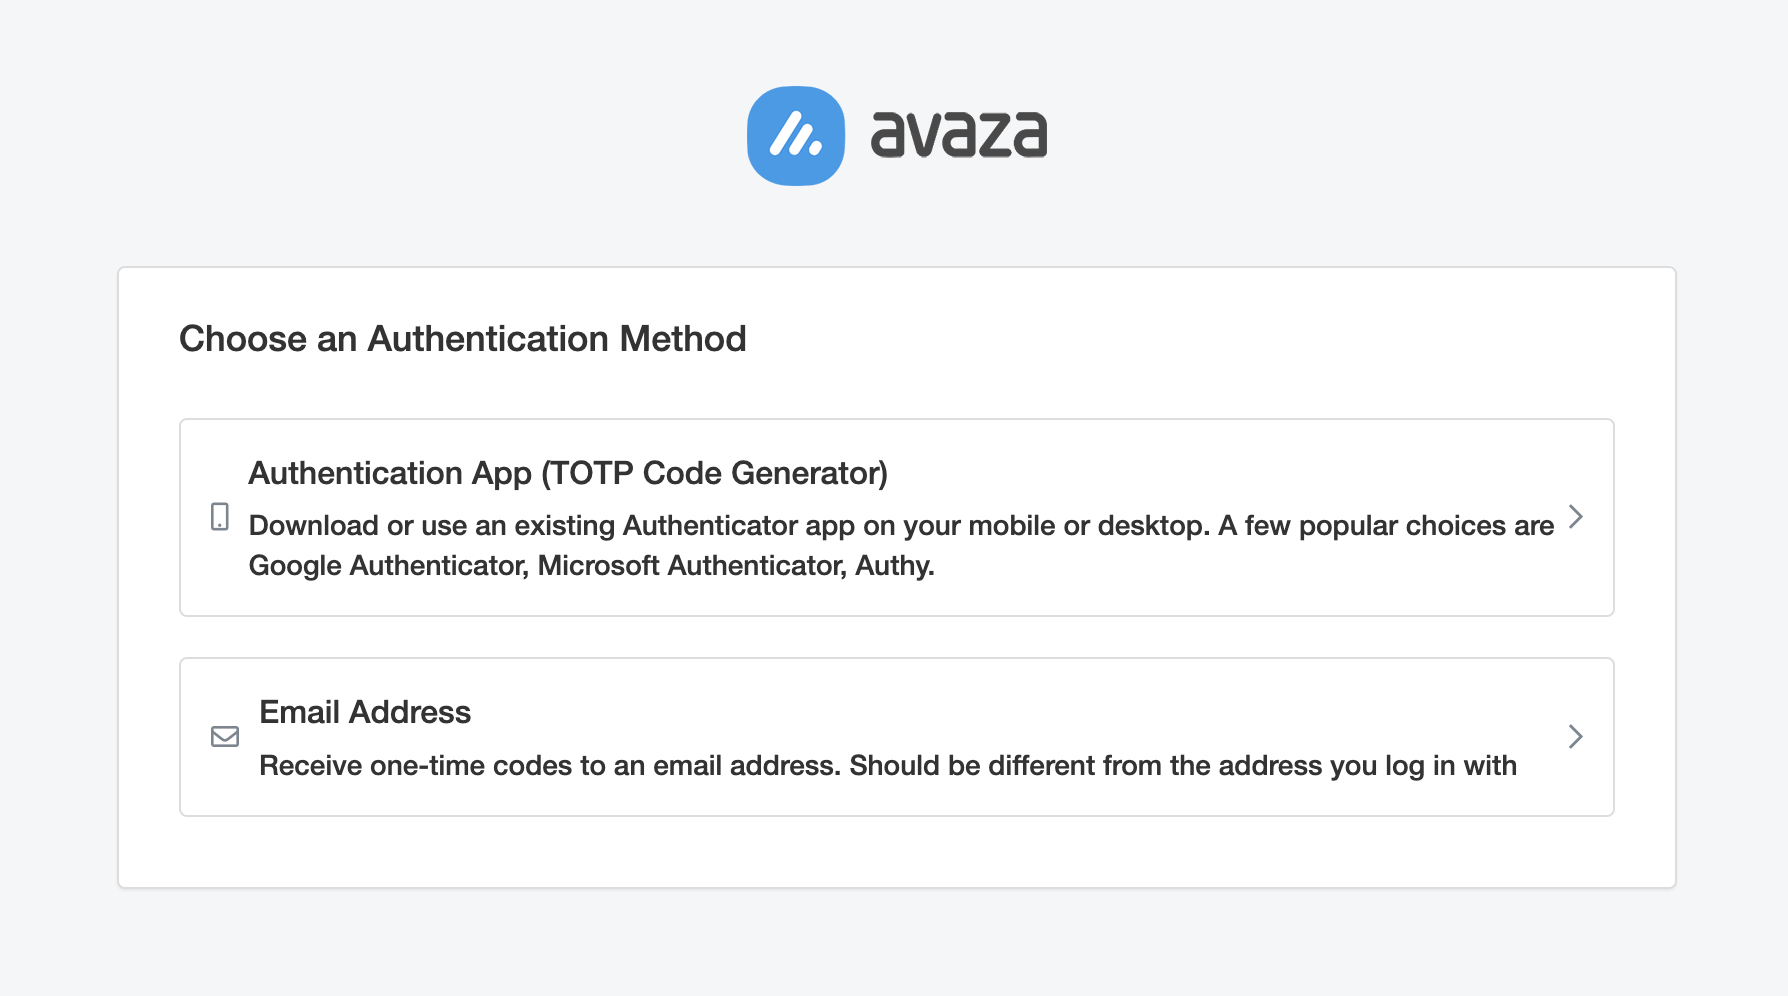
Figure: Step 2 – MFA Setup, select the authentication method
Step 3A: To proceed with the Authentication App method (Recommended), you should have an authentication app available on your smartphone, tablet, or computer. Once available, click the Authentication App app option.
- Open your authentication app and scan the QR code on the screen
- Alternatively, you can manually add it by copying the secret key
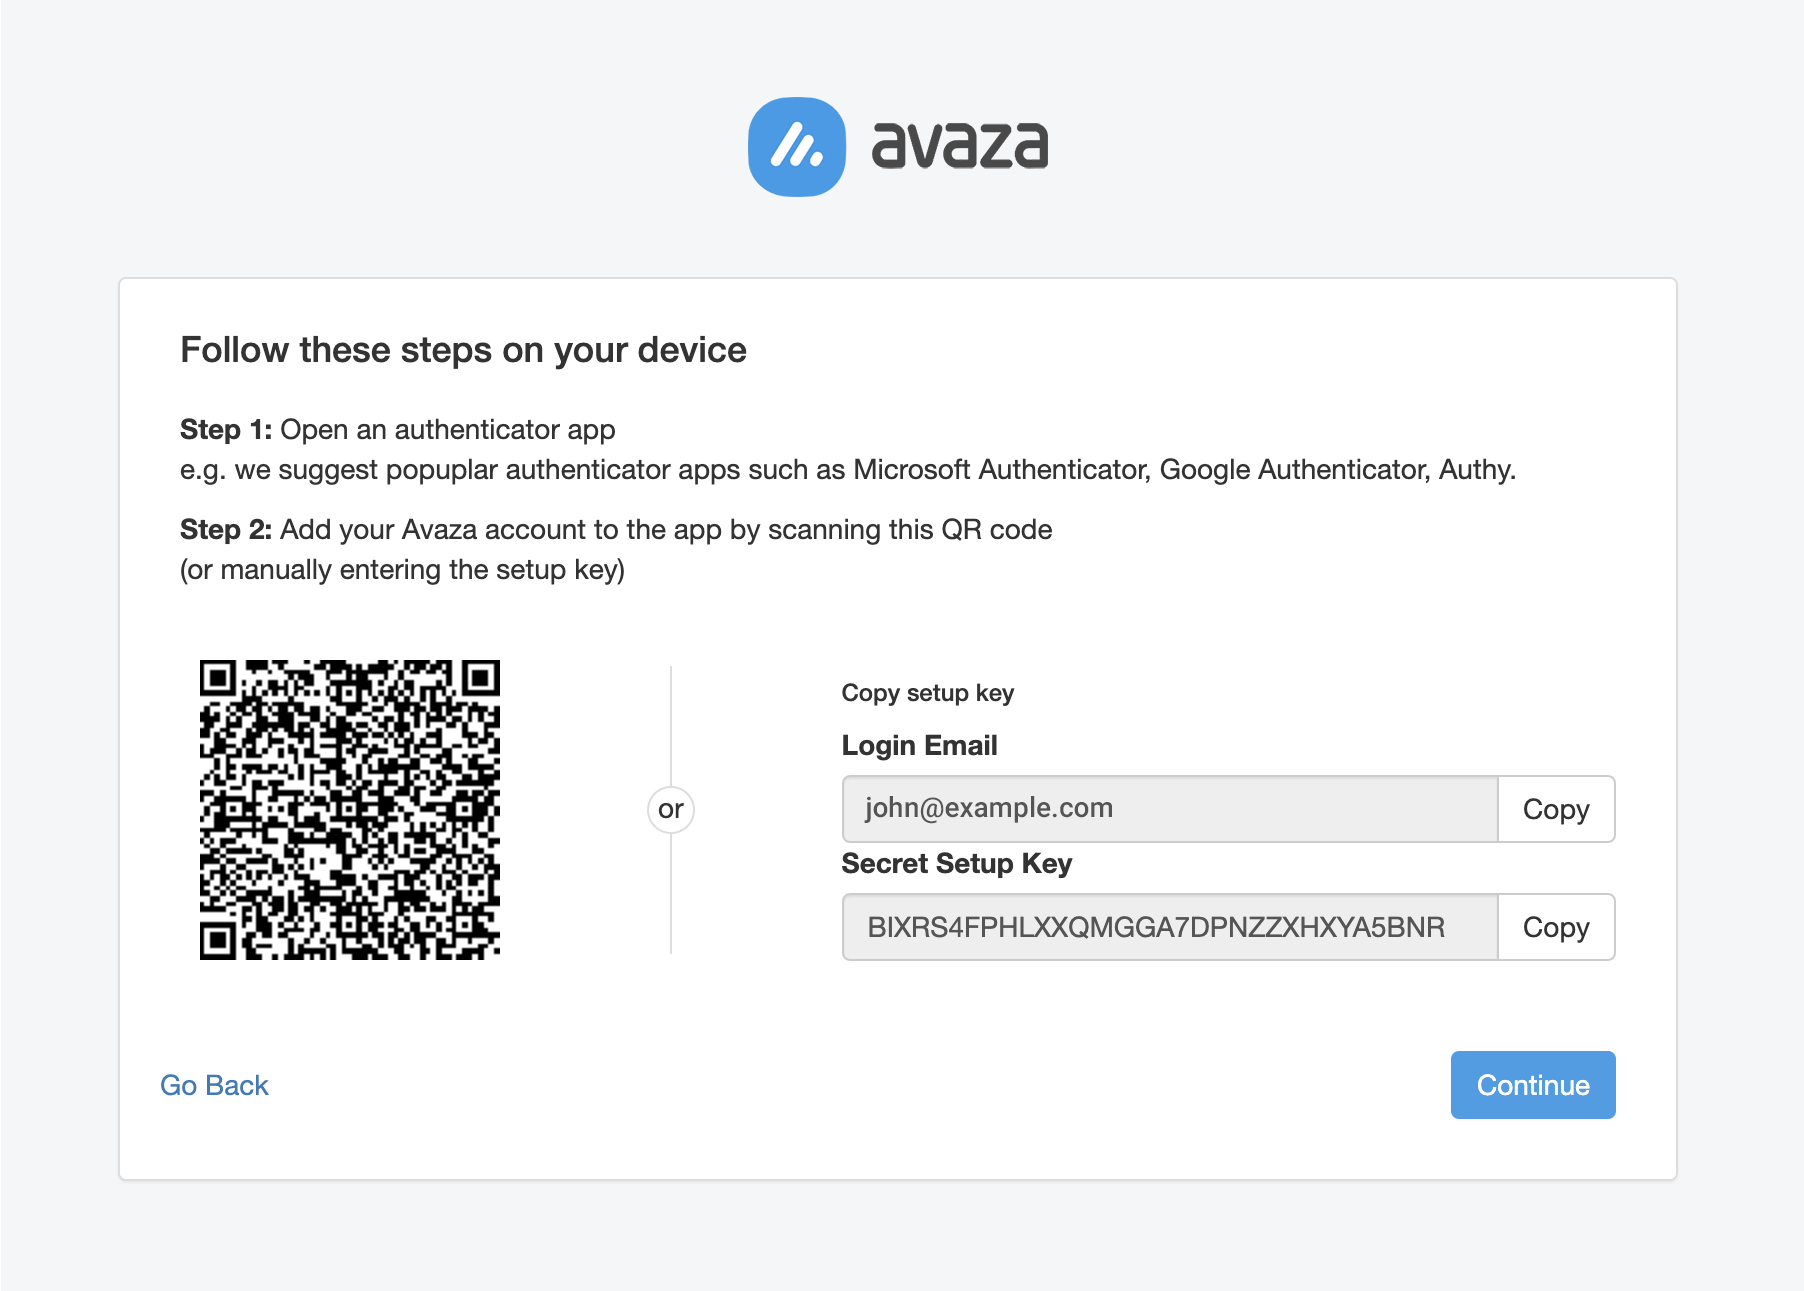
Figure: MFA Setup, Scan QR Code or Enter Secret Key on Authentication App
Step 4A: Once you have successfully added Avaza to your Authentication App, you can click Continue.
- Enter a nickname for this authentication option so you can identify it later. For example, call it Google Authenticator if that is the app used. Please note you can add multiple authentication apps so giving it a name is going to help you identify it easily.
- Enter the 6-digit code generated by your authentication app and click Confirm. Note that each code is only valid for 30 seconds, and relies on your device having the correct time.
- If the code matches then the authentication method will be successfully added and you will be redirected to the account.
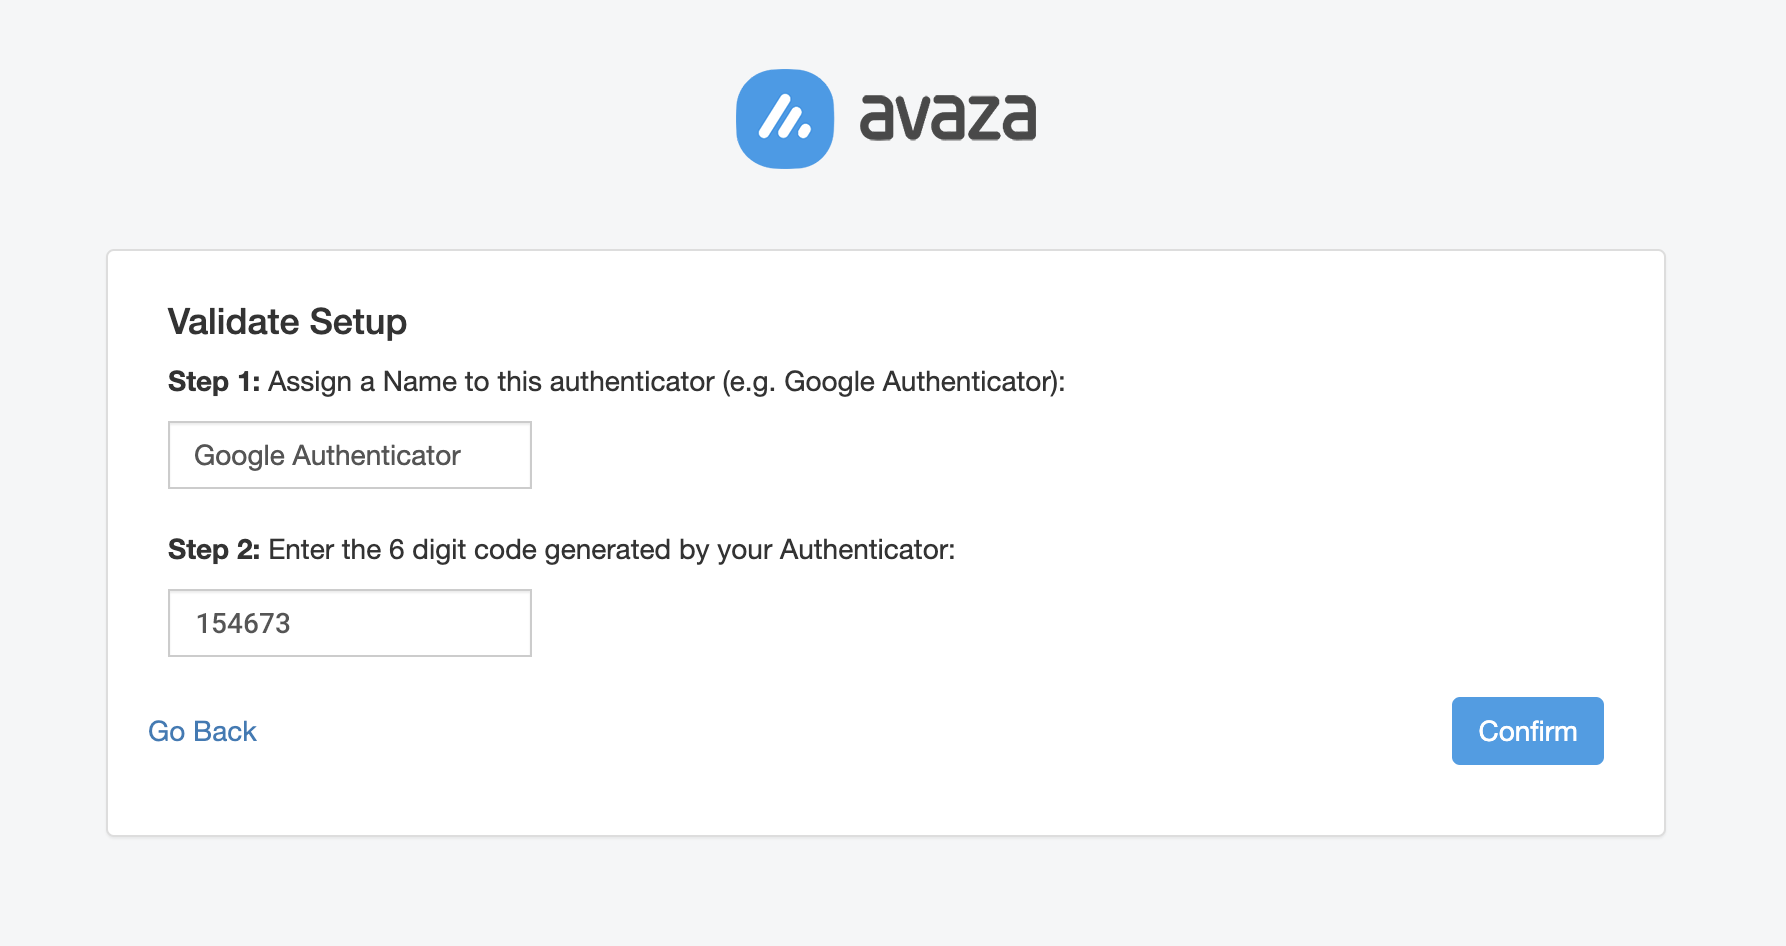
Figure: MFA Setup, enter Nickname and 6-digit code
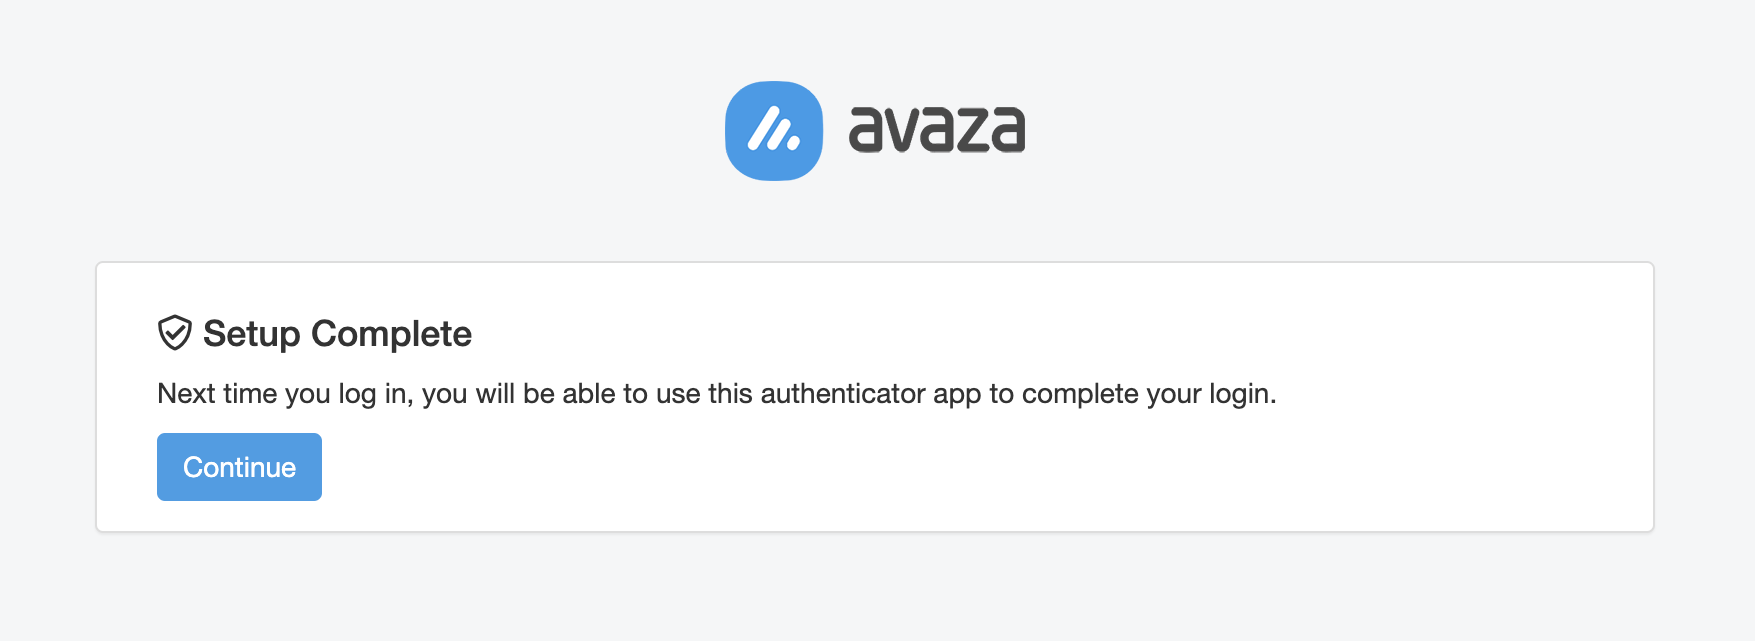
Figure: MFA Setup complete
Step 2B: If you choose Email address as the authentication method then you will be asked to enter the email address. Please note we recommend this email address should be different from the email address used to log in to your Avaza account. Enter the email address and click Confirm Email button.
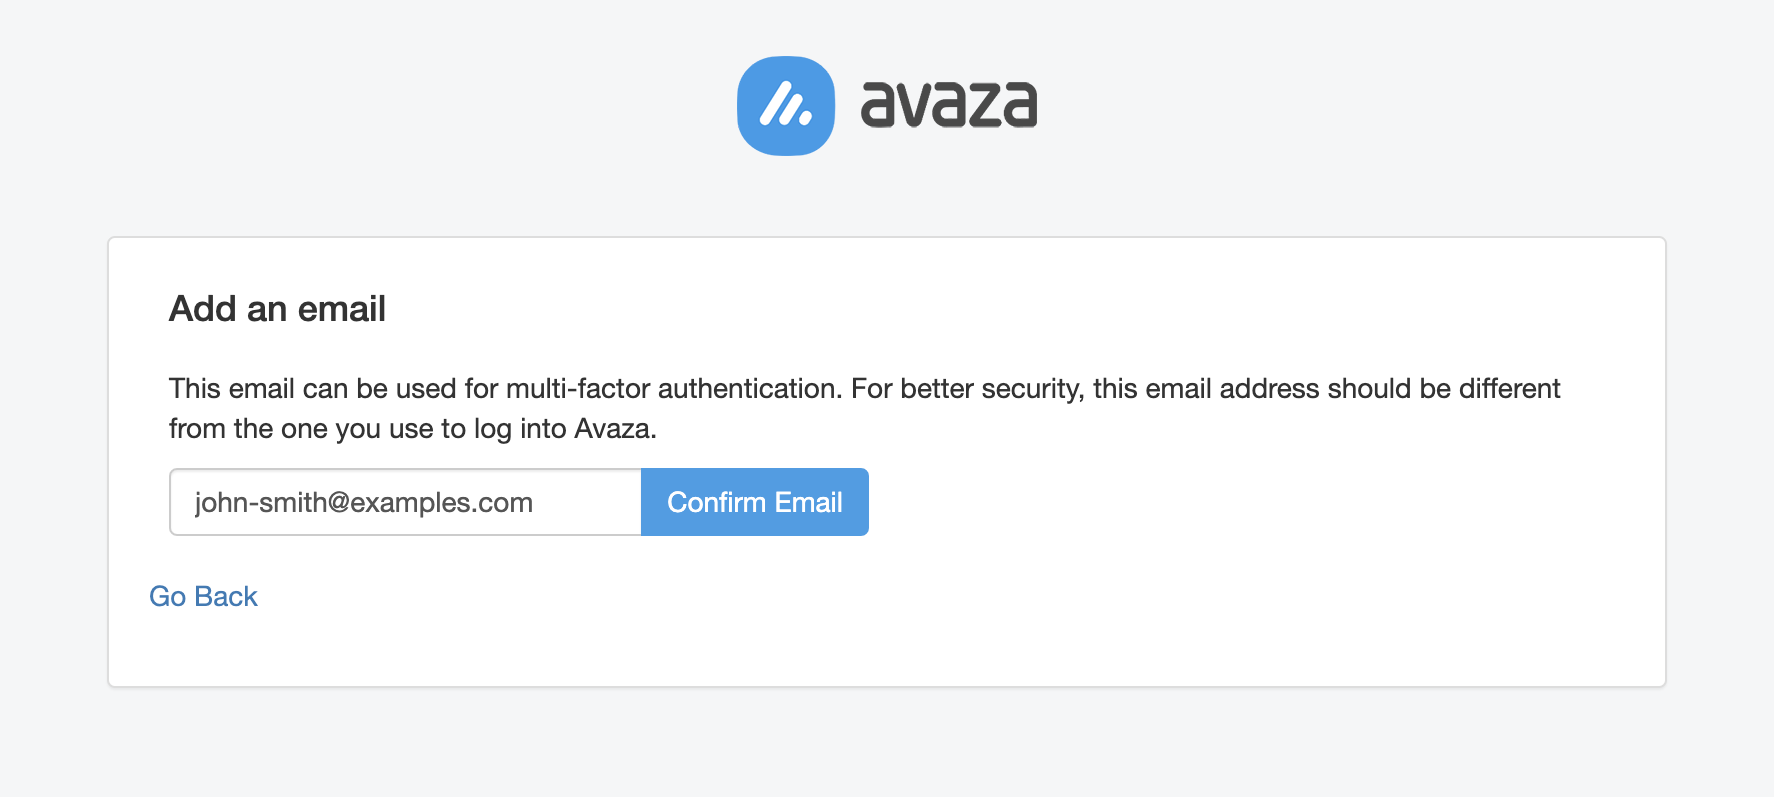
Figure: MFA Setup, enter a valid email owned by you
Step 3B: A verification code will be sent to the provided email address. Please enter/copy the code sent via email to the specified email address and enter it in the provided field and click Confirm.

Figure: MFA Setup, enter the code sent to the email address
Step 4B: If the entered code is valid then the authentication method will be successfully added and you will be redirected to your Avaza account.
We strongly recommend that you add multiple authentication methods by visiting the Multi-Factor Authentication Methods section on your User Profile page. This will ensure you can still access your Avaza account even if you lose the device the authentication app is installed on.
Login with MFA
Once you have MFA setup, you will be requested to enter the authentication code based on the selected authentication method as part of the login flow.
- As per normal you will need to authenticate your account using your username & password or one of the single signon providers (e.g. Google SSO)
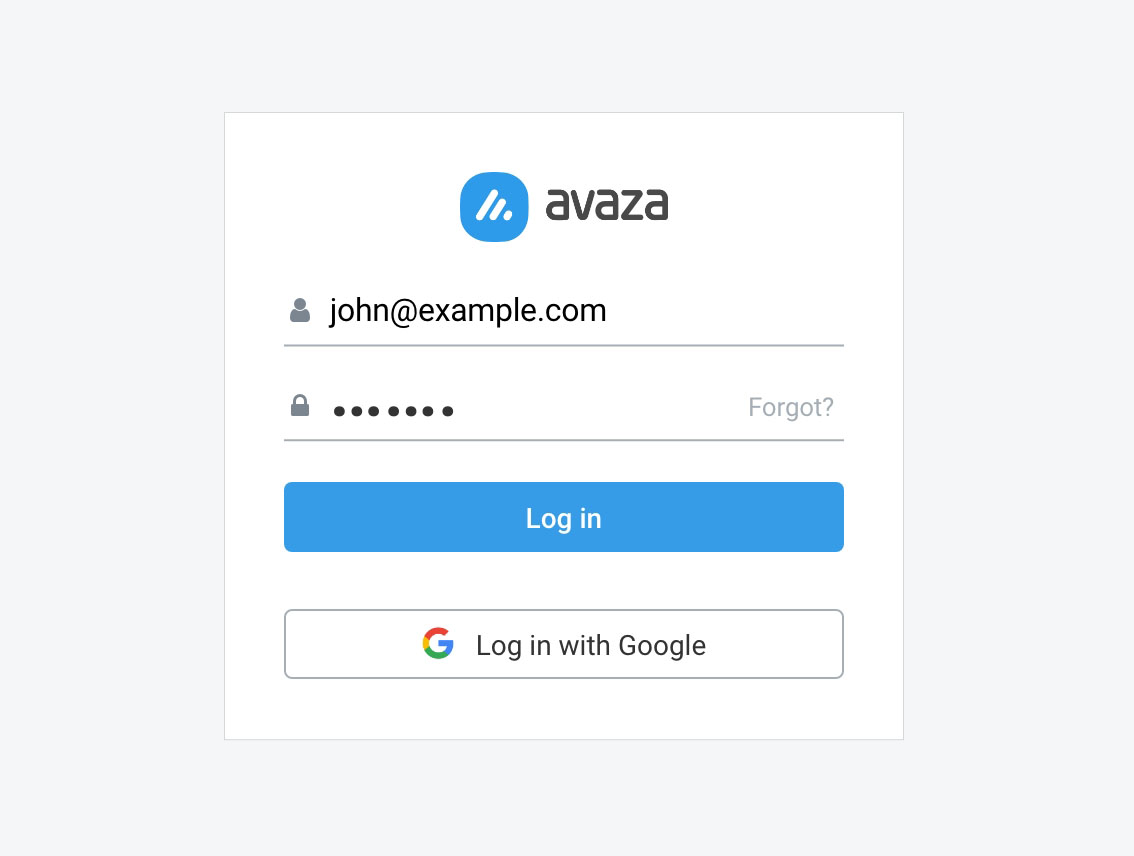
Figure: Regular Login Page
- Once you have successfully logged into your account you will see the list of MFA authentication methods you have setup. Select one of them to proceed.
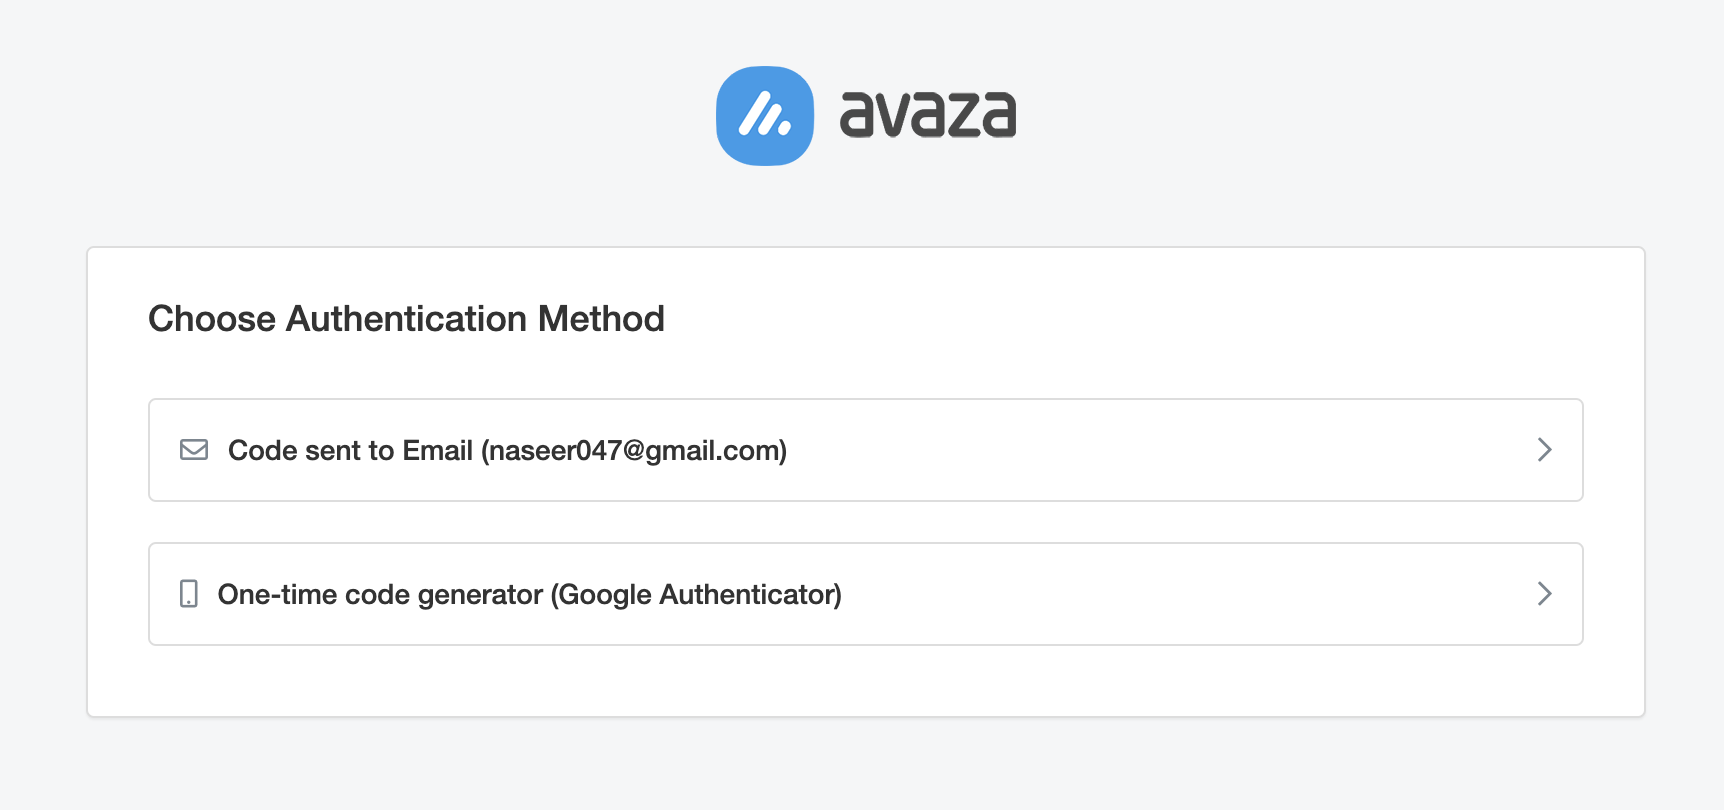
Figure: Select from one of the configured MFA authentication methods
- Enter the required code from your authentication app or email depending on the selected option and click Confirm
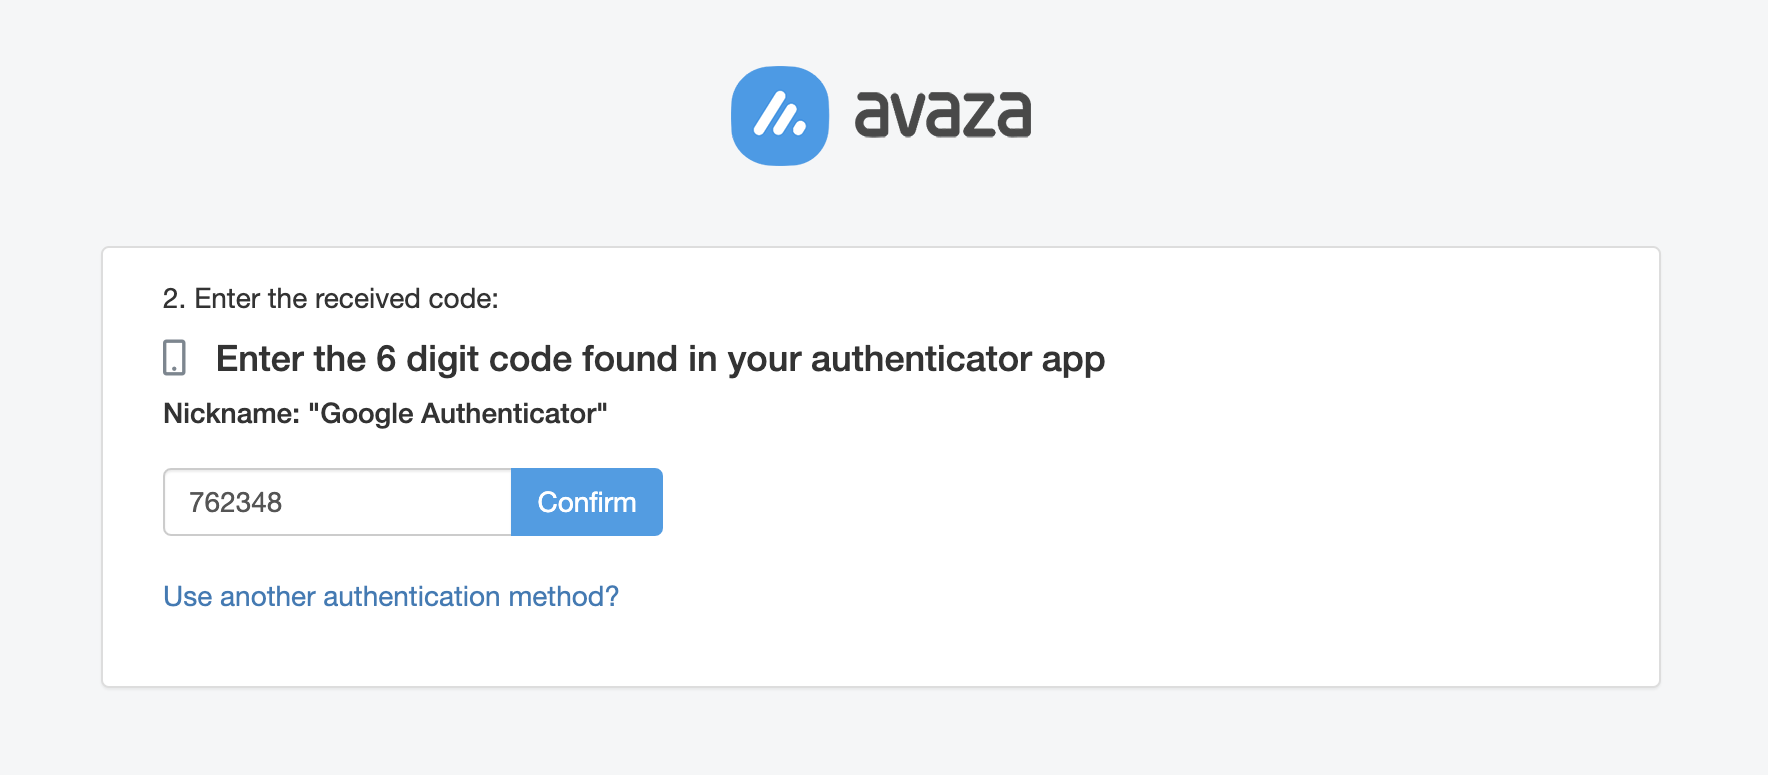
Figure: Enter the 6 digit code generated by the Authentication app

Figure: Enter the code sent to the selected email address
- You will be redirected to your Avaza account upon successful confirmation.
FAQs
I don’t have a smartphone or tablet. How do I setup the authenticator app?
If you don’t have a smartphone or tablet, you can install an authenticator app on your laptop or desktop computer.
I have changed my device. How can I setup MFA on my new device?
If you’re logged into Avaza, you can add a new MFA method by navigating to MFA section on your User Profile page. Once the new method is successfully setup you can remove the old method. Most Authenticator apps also have options to backup & restore, or sync your authenticator codes to additional devices.
If you are not logged into Avaza, then use another authentication method like the email that you have setup. If you don’t have a secondary method setup then please reach out to Avaza Support for assistance.
I am setting up email as the MFA authentication method but I am not receiving the confirmation code. Why is that?
Avaza sends you an email containing a code to confirm your email address. If you don’t receive the email address, try these fixes:
- Check you entered the correct email address. If not, enter the correct email and send the code to the correct email.
- Check you’re in the right email account.
- See if the email went to your spam folder.
- Wait a couple of minutes, then refresh your email inbox.
I have entered the confirmation code but it is not being accepted. Why?
If Avaza doesn’t accept the confirmation code you’ve entered, it may be because quite a bit of time has passed since you entered the code. For security reasons, authentication apps generate new codes every 30 seconds. Email codes are only valid for 5 minutes.
- Fetch the latest code from the authentication app and enter that code
- Even though your authenticator app might show a space after the first three digits of the code, enter the code without the space.
- Generate a new email by clicking Send email button
I am locked out of Avaza due to multiple unsuccessful attempts. What should I do?
To stop unauthorized access to your account, we’ll lock it after twenty unsuccessful login attempts, including MFA attempts. Wait 60 minutes then try logging in again.
If you are still unable to access your account then please reach out to Avaza support. Please note that we can only reset MFA for your account, not another user’s account.